 Hey there, friends! It’s been a bit since I’ve written about 3D Printing, and I admit that, at least at the time of this writing, it’s been a bit since I’ve done any 3D Printing (more on that in a bit)! However, I have done some stuff since the last time I wrote about it, I’ve been sitting on an outline for this post for approximately three months, and I’ve got a quiet evening where I can write, so I figured I’d get this done for the three of you who were wondering what I was up to with the 3D Printer.
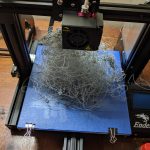
In my last update (link), I mentioned I had issues with the extruder, and I was going to buy and install a new one. I ended up going with this all metal extruder through Amazon (Affiliate link), watched a video on how to install it (link). Alas, this didn’t fix the issue, which didn’t bug me too badly because I needed to replace it, anyway, and it was a very affordable upgrade. So, the next thing I figured out was how to remove the nozzle. Once again, YouTube was my friend, and I was able to watch another video (link), where I learned I had to heat the nozzle up before removing it, and while adding it back on. Surprisingly, I was able to do this without burning myself! Upon removing the nozzle, I found it to be filled with a solid glob of PLA.
Yeah, that can cause some extrusion issues.
So, after installing the spare nozzle that came with the printer, I ordered a set of more 0.4mm nozzles (Affiliate link), and fed in some new filament to see how it worked. This time, everything came out clean and smooth and as it should!
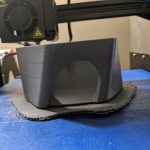
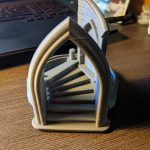
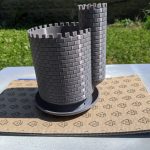
With this problem taken care of, I started to dive in to printing some dice towers. As a test, I decided to do a simple one, in a larger size. I took this simple tower from Thingiverse (link), bumped it up to 150%, and started printing. It was a beautiful print, until at the end of about 30 hours where it lost all bed adhesion and slid off the print bed with only about 20% remaining. As I started to do another one, this time at 75%, figuring I could use it for small dice, I vented my frustration on Twitter. A fellow Geek up in Washington advised that sometimes, he’ll print with a raft and tape the raft down to keep things from lifting. So, I went ahead and tried it with the mini tower, and it was a success! So, now it was time to do something Lizz and I had wanted to do since MRRF, back in March.
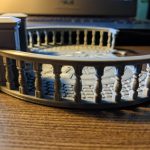
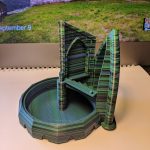
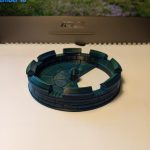
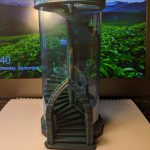
When we went to MRRF back at the end of March, we had the opportunities to do a few interviews with local 3D Printing companies. One of the interviews was with Filablend, based out of northern Indiana. You can hear their interview at this link. So, Lizz loved the color known as “Scorched Earth” they had shown at their table, and Jim, after some convincing, offered me a roll to test out after they got restocked from the show. At the time, I didn’t take it, because I was still having problems with that Monoprice printer (see first update post here), but now that I was printing well, I decided to go for it. So, I reached back out, and he awesomely sent me a half Kg spool of this filament right here. The idea? To turn this filament into a dice tower for Lizz. Specifically, this dice tower from Thingiverse (link). Well, despite some slight issues, like finding a water bottle large and smooth enough to hold the piece (it was found at Dollar Tree, and peanut butter did an excellent job removing the adhesive from the label!), we were able to get a really nice dice tower for her!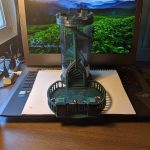
As a side note, we loved how the dice tower turned out, and I really want to give a thank you to Filablend for sending me the spool. I know it was a “thank you” for clearing up an unintended issue with the podcast, and not really meant for a review (because if it was? Damn, I’d be pissed it took me so long to write about it), but I still want to recommend it to anyone who’s looking to print something really cool looking, that won’t just be painted over. I know I’ll be throwing money at them in the future for some Psychedelic Penguin and some Full Moon.
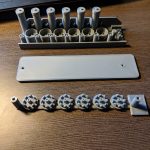
Feeling pretty confident now, I went ahead and knocked the parts to the Star Wars Mouse Droid off my “to do” list and shipped them out to a friend, before deciding to do some stuff for myself. I mean, sure, I got the small dice tower, and the practice dice tower from Lizz’s run (what, you don’t think I was going to waste beautiful filament on something untested, did you?), but I hadn’t pulled anything off of my Thingiverse collections yet. So, I went in, found some cool models of space ships, and went to work.
As I started on the first one, I noticed the bed adhesion issues were back. This was even after cleaning the glass bed, trying the light coating of hair spray, pretty much every trick in the book. The first layers would lay down beautifully, but after about 30 minutes, it would start lifting off the bed, and after a couple hours? That’s all she wrote, even if I tried taping the raft down. After watching a few failed attempts at a model stand, I realized the issue was drafts! Everything would adhere, but the back corner, where the office door is, would start lifting first. This made me realize that when the front would start lifting over the summer, that was because it was facing the AC vent for the office! Once I made sure the door was staying completely shut, I stopped having any issues, and everything stayed adhered perfectly.
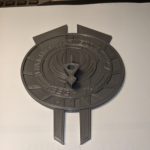
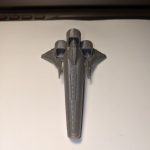
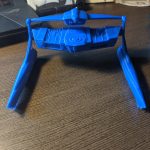
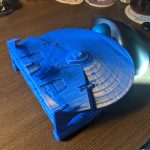
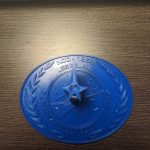
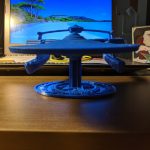
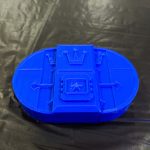
For the next pieces, I started actually keeping track of how much filament, and how much time, it took to print the entire model. First up was a ’78 Battlestar Galactica Viper (link) that’s only about five inches long, but it has a cool base, and it won’t take up much shelf space. It was printed out of some Monoprice Grey PLA, and it took about 15 hours and 40 minutes. If you’re really curious? Print quality was 0.12 mm, I printed at 20% infill, and it took 69 g of filament. After that was a USS Reliant model from Star Trek (link), and it was a really cool piece that’s a hair over 9 inches long with some good details on it that I hope I won’t cover up when I fill and paint it. This was printed out of Hatchbox Blue PLA (it was on sale, and a Tardis is on my list), at .12 mm quality with 15% infill. It took 210 g of filament, and took a whopping 45 hours, 45 minutes and 59 seconds to print!
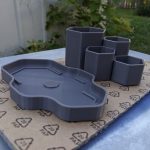
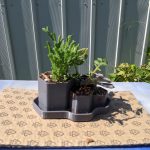
There’s been some other small pieces printed, like holders for the Google WiFi system, a succulent plant holder, and a larger plant holder. And during VoltCon!, I printed out a couple of Lion keys from the original Voltron series (link) to show off at my table. Past there? After some failures on a project for a friend that’s just currently outside my skill level, I need to get the bed leveled again, get the glass bed cleaned off, and start my next project, but I’ve just been slammed. Once I have some time again, what’s on the docket?
- I have the blue filament, and some clear filament, and I’m going to attempt to do this Tardis (link). I’ve even got the light kit he offers, to make the top and windows light up. This is the first step in figuring out how to follow his instructions, because he’s also done an awesome Ghost Trap.
- I have more models to print, like a Gunstar from The Last Starfighter (link), a movie version of the USS Enterprise 1701 (link), and more.
- More planters.
- Another sidearm for Lizz’s BSG costume.
- Helmets? Maybe? Am I that brave?
The next update probably won’t be out until early 2020, but you can always follow my building-specific accounts on Instagram, Twitter, and Facebook to see what I’ve got going on. In addition, there’s the new-ish Indiana Geeking Discord with a 3D Printing channel, if you want to check that out. Just DM me on social media for an invite. Finally, if you want to support what I’m doing, feel free to buy me a Raktajino over on Ko-fi, or shop my 3D Printing Amazon Wish List. Okay, I’m not really expecting the second one, but it does let you know what I’m looking to pick up, if you’re curious!
Finally, before I go, I want to say the next Midwest Rep Rap Festival is happening the weekend of April 3rd, and Lizz and I already have tickets and a hotel room, so we’re not driving half the day up to Goshen. A goal this winter is to start learning one of the modeling programs, and try to have some maker coins designed and printed before heading up. More on that early next year!
Thanks for following, friends, now enjoy some photos of the projects I talked about above!
Tony
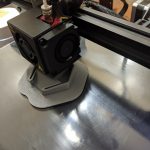
- Dice tower started. You can see the raft lifting already
- Yeet!
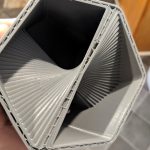
- The top of the unfinished print
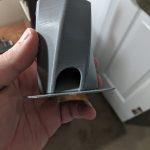
- Take 2, much small and shorter print this time
- Completed smaller print, works perfectly with my small dice.
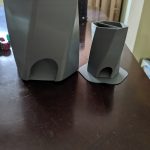
- Size comparison
- Test print for Lizz’s dice tower
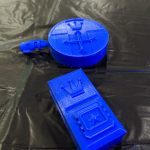
- Dice tray test for Lizz’s dice tower
- Dice Tower piece, showing off the Filablend layers
- Top of final dice tower
- Assembled dice tower, with plastic bottle
- Mouse Droid Parts
- Planter
- Planter with plants
- Another planter, still no plant in it.
- Viper base
- Viper
- Back of Reliant
- Front of Reliant
- Reliant base
- Model test fit together
- Lion key, Voltron
- Lion key, again
Leave a Reply